

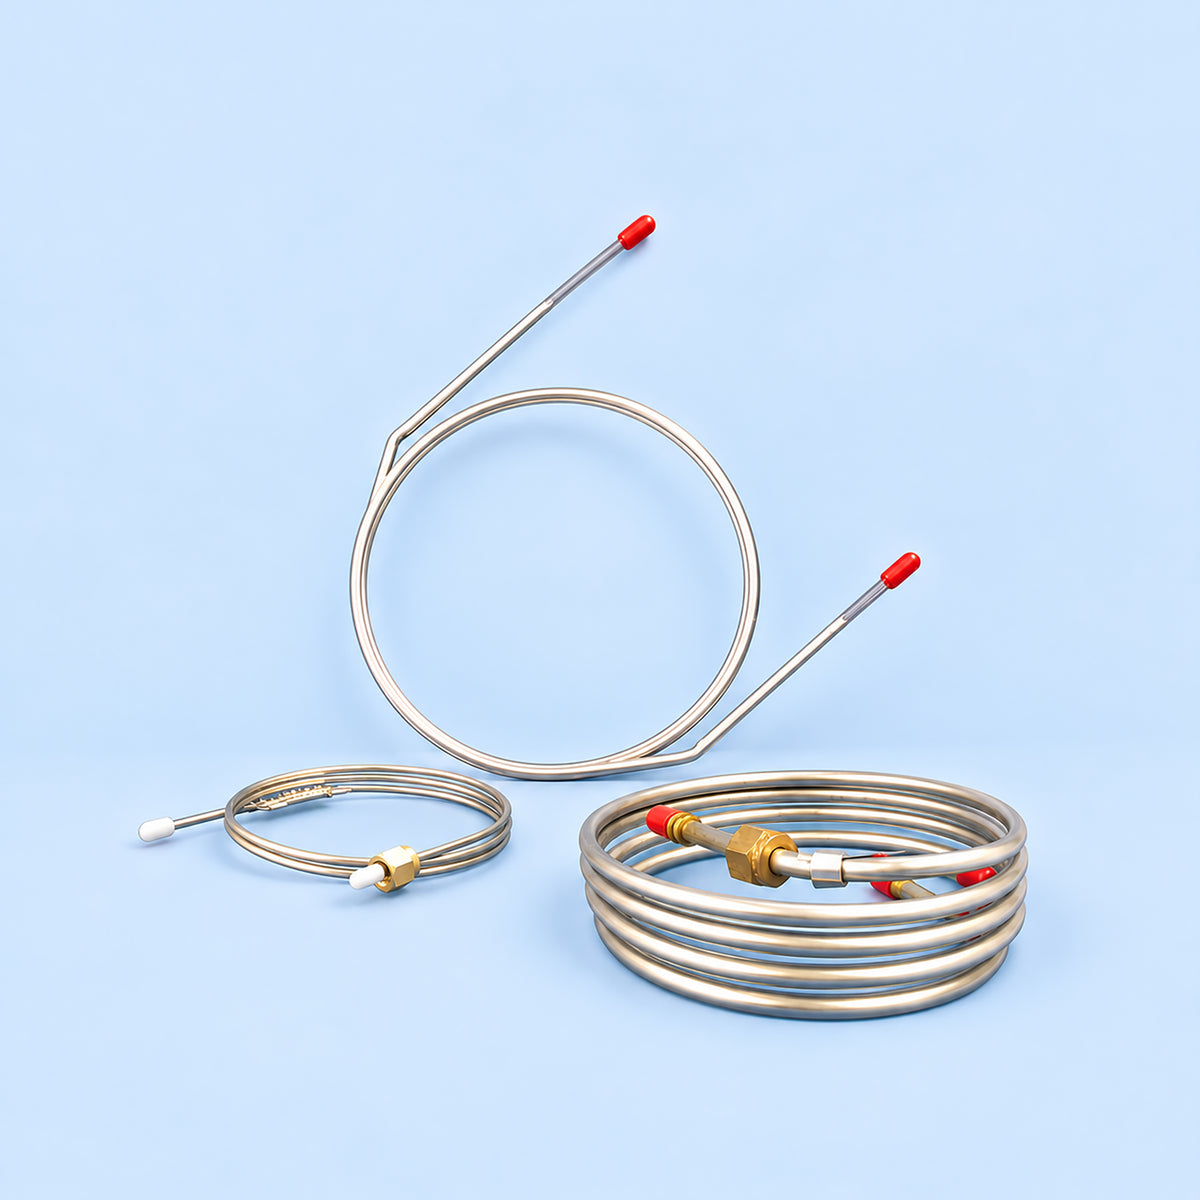
Custom Packed Column
Custom Packed Column
Please fill out the form below and press submit when complete. A Customer Service Representative will provide you with a quote based on your custom selections.
Contact For Pricing
Please provide the details for the pricing
Frequently Asked Questions
Why Buy a Packed GC Column from Chromatographic Specialties Inc.?
Strict Quality Control:
- Material inspection
- Controlled packing procedures
- Repeatability
- Batch traceability
- Performance testing
- Documentation
- Visual inspection
Our Columns Perform Consistently:
- Uniform packing density
- Reliable fittings
- Minimal channeling
- Consistent flow
- Repeatable manufacturing
- Controlled and repeatable processes
- Focus on repeatability and reproducibility
- 63 years of institutional knowledge
....and we are reliably here in person to support you.
How Do I Care For My Packed GC Column?
Always cool the oven and injection port to room temperature before removing the column from the chromatograph.
If the column is to be used again at a later date, cap the ends before storage to prevent diffusion of air into the column. Plastic column protectors can be used for this purpose.
When a column is re-installed into a chromatograph, pass carrier gas through it for 15-30 minutes at room temperature to flush out any air before heating it to the desired operating temperature. It is advisable to further condition the column at the desired operating temperature for 1 hour before use.
Is There Anything I Can Do to Improve The Aging Column's Performance?
Before discarding an aged column, the first few inches of packing should be removed and replaced with fresh packing, and a new silanized glass wool plug inserted. This will usually improve the performance of an old column. With non-polar silicone phase columns, periodic use of a silylation reagent such as Silyl-8 will extend column life.
Pre-columns are sometimes used by chromatographers to protect and extend the life of a column. A pre-column is a short piece (typically 6” long) of the same tubing material, joined to the analytical column with a zero dead volume union, and packed with the same packing as the analytical column. The pre-column is then regularly replaced as it collects impurities, thus extending the life and performance of your column.
Why Is My Packed GC Column Not Performing Like It Used To?
Even with extreme care, column performance usually deteriorates upon prolonged use. Poor resolution and peak broadening or tailing is a result of column aging. This deterioration may be due to several factors.
For example, the injection port temperature may have been set too high and thus overheated the injector end of the column, destroying liquid phase and exposing bare uncoated support surface.
Sample residues or decomposition products might have built up on the glass wool plug.
The front end of the column packing might have degraded due to oxidation or build-up of residue.
How Do I Install a Glass Packed Column?
Reducing the risk of breaking a glass column and/or leaks starts with ordering the correct column. To do that you will need to know the following:
A. The specific make and model of the instrument the column is being installed in.
B. If your instrument accommodates more than one installed detector and injector, specify which injector and detector port are to be used. With 2 injector / 2 detector instruments, there are only two options: straight across (front-front, back-back) or diagonally (front-back, back-front)
C. What your detector type is.
D. If you are using a liner on the injector port.
E. If column outside diameter is not 1/4” or 6mm, you must specify the OD.
Choose the correct fitting hardware for your application:
A. Graphite/polyimide* or graphite single ferrules are essential to avoid breaking the column when tightening fittings. Graphite single ferrules can be more forgiving to over tightening. Graphite/polyimide single ferrules are recommended for more sensitive detectors i.e. Mass Spec or ECD.
B. Follow the instructions below to install your selected hardware.
C. If you want to include the fittings to accommodate your glass column with your order, we recommend the following:
• C50015 will include two 1/4” stainless steel nuts and two 1/4” graphite single ferrules.
• C50020 will include two 1/4” brass nuts with two 1/4” graphite single ferrules.
If ordered, the nuts and ferrules will arrive attached to the column box.
Note: * Polyimide is often referred as Vespel®. Vespel® refers specifically to DuPont’s proprietary brand of polyimide ferrules.
Handling a glass column without breaking it requires patience. Remember:
A. Support the column to reduce stress, do not hold the column by only one leg.
B. Before installation confirm the compatibility of your column with your GC.
C. Do not try to force the column.
D. While conditioning, your column should be attached to the injector port only. Condition according to the supplied instructions inside the box.
E. After conditioning and allowing the column to cool, insert the column with the remaining nut and ferrule into the detector end. Do this by loosening the nut on the injector port and gently sliding the column out until you have enough space to insert the column into the detector end properly.
Installing Packed Glass Columns After Conditioning
Recommended Products: • Two 1/4” graphite single ferrules • Two 1/4” nuts • One 9/16” wrench
- A glass column must be installed without flexing the arms.
- Gently insert the detector end of the column until it cannot be inserted further, but DO NOT FORCE IT.
- Gently pull the column down 1-2mm.
- Tighten the nuts to finger tight, followed by a soft 1/2 turn with the wrench.
- Perform a leak check with a leak detector**, if no leaks are present, the task is complete.
For more sensitive detectors like an ECD or Mass Spec we recommend the use of graphite/polyimide ferrules.
Install using the following instructions:
- A glass column must be installed without flexing the arms.
- Gently insert the detector end of the column until it cannot be inserted further, but DO NOT FORCE IT.
- Gently pull the column down 1-2 mm.
- Tighten the nuts to finger tight, followed by a soft 1/4 turn with the wrench.
- Set flow and oven temperature to operating specs, allow oven to heat, then cool. (Cycle)
- When cooled, tighten nuts an additional 1/2 turn. Adjust as necessary to prevent leakage.
- Perform a leak check with a leak detector, if no leaks are present, the task is complete.
Need Product Assistance?
Our experts are here to help! Contact us for technical support, product recommendations, or order assistance.


